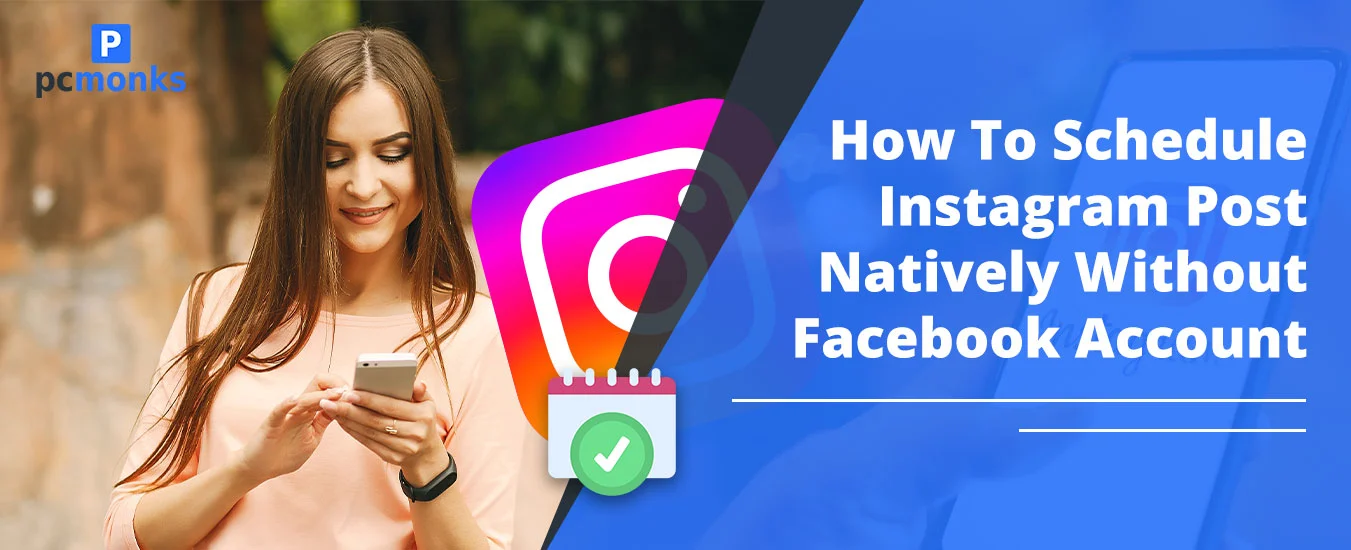
If you’re managing multiple Instagram accounts and don’t have time to post every day, you can avoid last‑minute stress by using Instagram’s native scheduling feature. This method lets you plan posts in advance without needing a Facebook account.
Instagram rolled out its native scheduling feature broadly in early 2026, expanding access from only professional accounts to many public accounts. However, availability still depends on your account type, region, and app version.
In addition, there is no requirement to connect your Facebook account before scheduling.
Instagram’s native scheduler helps you:
- Post consistently without manual uploads every day.
- Schedule content directly from the Instagram app, no Facebook account required.
- Use only your public, professional, or Creator account to set future posting times.
What is Instagram Post Scheduling?
Instagram has a native feature, post scheduling, that is only available for public or professional account users. However, this feature is not accessible on a private account. So, if you have the one, you need to convert it into a public account. With this feature, users can usually schedule posts up to about 30–75 days in advance, depending on account type and region. And the best part is, Instagram allows its users to schedule 25 posts in a single day.
Most importantly, just remember that this feature is only for those users who want to post their carousels, reels, or images in advance. As of 2026, you can’t plan your stories, collaborations, or Instagram Notes—though you can easily find that feature in your DM inbox—or sponsored posts and think that all these content will automatically be published.
Step‑by‑step: Schedule an Instagram post or Reel natively (no Facebook account)
Before you start, understand these key points.
- You are using any type of public account, such as professional, business, or creator.
- The scheduling feature is not applicable to private account holders.
- Users are only allowed to schedule 25 posts for every day and up to 30 days in advance.
- While scheduling a post on Instagram, your target audience and privacy settings are locked for that period of time.
Now, you can perform the following steps:
- Click on + Create to start the process.
- Tap on Reel or Post.
- You need to pick a favorite image or video. Click on Next.
- Apply effects or filters as per your requirement. Then, add a caption.
- Scroll down to Advanced settings at the bottom of the caption screen and toggle “Schedule this post” or “Schedule this reel”.
- Decide the time and date.
- Tap Done and go Back.
- After that, just hit the Schedule button.
Important: Instagram’s native scheduler does not support scheduled posts that include collaborations, branded content tags, sponsored posts, or fundraising stickers. These must be published manually when you’re ready to go live.
How to Manage Scheduled Posts and Reels on Instagram
You can manage your scheduled posts and Reels in two places inside the Instagram app:
- From your Profile
- While creating a new reel or post
Approach 1: From Your Profile
- Open your Instagram profile.
- Tap on three horizontal lines to open Menu.
- Tap on Scheduled Content under Your Insights and Tools.
- Go for the Options.
- Here, you can Edit, Delete, Share Now, or Reschedule your post.
Approach 2: While Creating a New Reel or Post
- Again, tap on + Create.
- Choose what you want to create a Post or Reel for. Go with the one option.
- Go to the Scheduled section to view your already scheduled content.
- Choose the post you are willing to edit.
- Move towards the Option.
- Choose Reschedule, Edit post, Delete, or Share Now.
Best Practices for Scheduling Instagram Posts
- Optimize Captions and Visuals: Use high‑resolution images and avoid over‑zooming. If you are creating your own graphics, you might wonder if Canva Pro is still worth it compared to newer free AI design tools available in 2026.
- Stay Agile: Try to schedule your post one or two weeks in advance. If you are scheduling too far out, such as one month, there is a high chance that it can lead to posting insensitive or irrelevant content during unexpected events.
- Use Native Analytics: Instagram’s native scheduler lets you handle content timing around your target audience’s active hours.
Update your app regularly: Check for updates in your app store so you don’t miss new UI changes or bug fixes that affect scheduling.
Common Mistakes (and How to Avoid Them)
Common mistakes when using Instagram’s native scheduler include:
1. Account Type Mistakes
- Mistake: Using a private account or an account that hasn’t been enabled for scheduling.
- How to Avoid: Follow these steps to avoid such a mistake:
-
- After opening your Instagram account, go to Menu.
- Navigate to Settings.
- Choose Account.
- Move towards the Switch to Professional Account option.
However, the scheduling feature is not applicable to the private account.
2. Feature Limitations & Technical Errors
- Mistake: You might be trying to schedule your collaborations or stories.
- How to Avoid: You just need to understand that Instagram’s native feature is currently not supported for stories, sponsored posts, or collaborations. However, this is limited only to your posts, carousels, and reels.
- Mistake: Trying to schedule more than 25 posts per day or planning too far ahead.
- How to Avoid: Instagram currently allows up to about 25 scheduled posts per day, usually up to 30–75 days in advance. If you reach the limit, some posts may not appear in your scheduled list or may fail to publish.
- Mistake: You don’t remember to enable the Schedule this Post option.
- How to Avoid: We’ve listed the instructions so that you can’t make the same mistake again.
-
- Open Settings by tapping on the Menu tab on your Instagram profile.
- Go to Advanced Settings.
- Look for Scheduling this Post.
- Turn it on.
- Set the Date.
3. Content and Scheduling Strategy
- Mistake: Publishing on autopilot and not engaging with comments or messages.
- How to Avoid: This scheduling feature can only manage publishing. However, you need to log in to your account again to reply to messages and comments if you want to increase the engagement. Replying to comments and messages can help signal engagement, which may support your content’s visibility over time.
- Mistake: Scheduling the post at the wrong time.
- How to Avoid: Consider using your Instagram Insights to analyze when your target audience is highly active.
- Mistake: You are posting irrelevant content for the future.
- How to Avoid: Don’t schedule time‑sensitive posts like “Join Us Today,” as they can become irrelevant or confusing once the deadline has passed.
4. Workflow and Management Errors
- Mistake: You have forgotten to check the Scheduling Content folder.
- How to Avoid: You can do one thing:
-
-
- Visit your Instagram profile on a daily basis.
- Navigate to Scheduled Content so that you can easily review which content is queued till now.
- Mistake: You are not thoroughly reviewing your content.
- How to Avoid: Take a pause so that you can verify all the images that you are going to schedule are properly cropped. Make sure your caption doesn’t have any typos before scheduling it.
- Mistake: You have already assumed that you may need a Facebook account if your Instagram app doesn’t work properly.
- How to Avoid: If the scheduling process fails, you can restart or force-close your Instagram app. By doing this, you can smoothly fix all temporary glitches without requiring any third-party apps.
Troubleshooting: Scheduled Posts not Publishing
If your Instagram scheduled posts are not publishing on time, try these troubleshooting steps:
- Clear App or Browser Data: You just need to clear the app’s cache and data in Instagram so you can smoothly delete corrupted data.
- Check In-App Notifications: Sign in to your Instagram account and see whether there are any pop-up notifications that require you to resolve suspicious activity or accept new terms that stop you from automatically publishing posts.
- Check Media Constraints: If you’re scheduling Reels, avoid using trending audio that may be restricted or removed later. If Instagram changes access to that audio, your scheduled Reel may fail to publish or be altered.
- Manual Retry or Workaround: If your scheduled posts are failing, you can try to publish them manually. If you are encountering the same problem again and again, you can try to use your web-based Instagram, not your mobile app.
- Check Authorization: Ensure your Instagram account has not been restricted or logged out on other devices. If your account is flagged for suspicious activity, you may need to log in again or verify your identity before scheduled posts publish.
Native Scheduling vs. Third-Party Tools (2026)
This section will provide you with a tabular representation of Instagram’s native scheduling and other third-party tools.
| Feature |
Native Instagram Scheduling (2026 Update) |
Third-Party Scheduling Tools |
| Facebook Account Requirement |
There is no longer a need to have a Facebook account. You just need to switch your personal account to a public account. |
There are some tools that still require Facebook or Meta integration for API access. |
| Content Types Supported |
For up to 30 days, you can only schedule 25 posts per day. |
- Feed posts
- Reels
- Carousels
- Stories
It totally depends on you, which tool you’ve chosen. Plus, there are some reminder-based ones for Stories. |
| Analytics |
You will get the basic insights dashboard, such as impressions, reach, engagement, and follower activity. |
Many tools offer advanced analytics dashboards, including hashtag performance, estimated optimal posting times, and audience‑segment reporting. |
| Ease of Use |
It is simple. Moreover, it is built into the Instagram app. Plus, there is no extra setup. |
It requires an external app or platform. In addition, it has a more challenging learning curve but more powerful features. |
| Cost |
Free for all public accounts. |
It is often subscription-based, like you need to pay monthly or annual fees. |
| Collaboration Features |
None, and it is designed for individual creators. |
Here, you will get approval workflows, team collaboration, and bulk scheduling for agencies. |
| Automation & AI Features |
Features are limited, as you can only schedule your post manually. |
There are advanced AI features, such as:
- AI-powered caption suggestions,
- Feed planning,
- Bulk uploads,
- Smart posting times
|
| Best For |
- Solo creators,
- Small businesses,
- Anyone who wants free and simple scheduling.
|
- Agencies,
- brands,
- And power users who need scale, analytics, as well as automation.
|
General Questions Along With Answers
Here, you will learn how you can smoothly schedule your Instagram post natively without having a Facebook account.
Q1. Can you schedule posts natively on Instagram?
Ans. Yes. Instagram’s native scheduler generally works on public accounts, including Creator and Business accounts. Some private or personal accounts may not show the option at all.
Q2. Can you schedule Instagram posts without a Creator/Business account?
Ans. Many public accounts can schedule posts without switching to a Creator or Business account, but that behavior may vary by region and app version. If the scheduler is missing, switching to a Creator or Business account usually unlocks it.
Q3. Why don’t I have the option to schedule Instagram posts?
Ans. It might be because of the following reasons:
- You are using a personal account rather than any professional or public one.
- There is a missing Advanced Settings option.
- Your Instagram app is not updated yet.
- There might be some regional restrictions.
Q4. How to post on Instagram without it going to your Facebook?
Ans. Follow these instructions as listed below:
- Convert your personal account into a public or professional (business or creator) one.
- Start creating a post by tapping on the + or the Create button.
- Choose the type of post you are willing to add.
- After that, come to the caption screen.
- Scroll down a bit and go with the Advanced Settings.
- Enable the Schedule this Post option.
- Set the desired time you want to schedule.
- Tap on Schedule to confirm the process.
Q5. Can I set up Instagram without Facebook?
Ans. YES! You can easily decide the time period for how long you want to schedule your preferred content. Just make sure you are using a professional or public account to do so.
Q6. What are alternatives to Instagram scheduling?
Ans. We have some alternatives that will help you to schedule your Instagram post that don’t require you to have a Facebook account. These are:
- Buffer
- Later
- Planoly
- Hootsuite